


Introduction
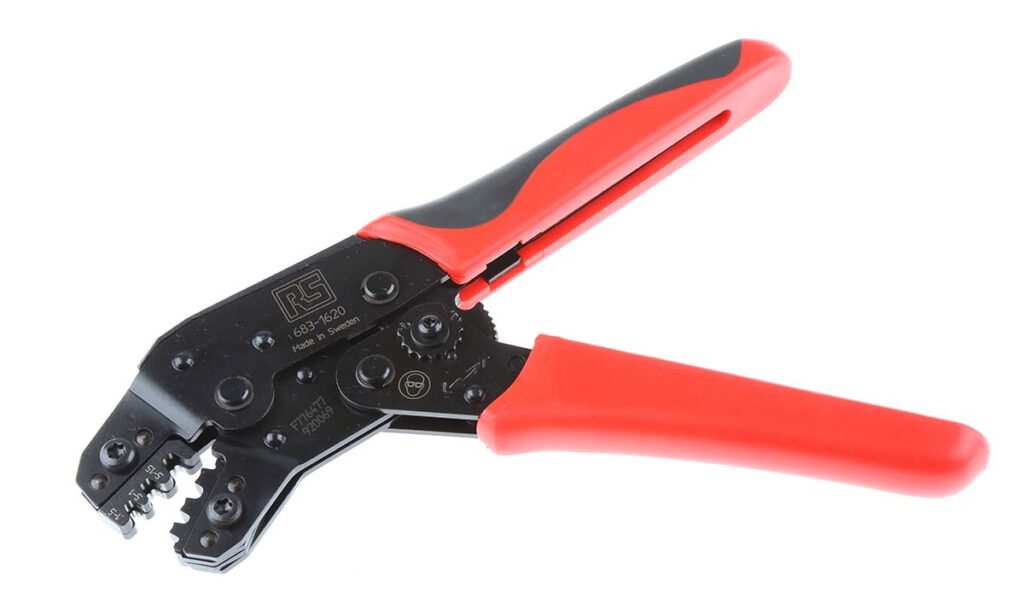
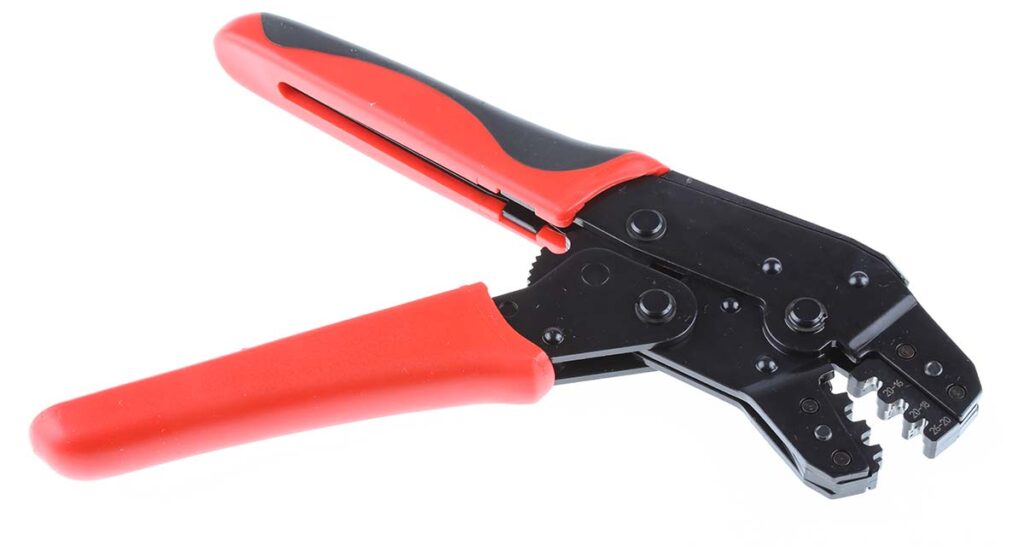
A Ratchet Crimping Tool applies controlled compression to terminals so every crimp on cables and connectors is uniform and strong. The ratchet mechanism locks partway through the stroke, which prevents partial crimps and improves electrical reliability in electronics, control panels, and field service.
- Ensures repeatable compression with less operator fatigue
- Reduces loose strands that raise resistance and heat
- Improves pull strength and vibration resistance in mobile equipment
How the ratchet mechanism improves quality and safety
Unlike simple crimp pliers, the ratchet engages only when adequate pressure is reached and releases at completion. This closed loop action supports consistent terminations across shifts and teams.
- Positive engagement guides the terminal barrel into the die correctly
- Full cycle release prevents under crimping that can cause arcing near fuses and switches
- Smooth leverage reduces strain on hands and improves grips during long production runs
Types of connectors and compatible terminals
Crimping success depends on matching terminal style and die profile. Typical pairings include common components across industrial electronics and low voltage systems.
- Insulated and non insulated ring, fork, spade, and pin terminals
- Ferrules for fine strand cables in controllers and microcontrollers I O
- Coaxial and data contacts used near sensors, LEDs, and laptops
- Butt splices and inline splices for maintenance on contactors and motor starters
- Modular contacts for signal lines around microprocessors and embedded boards
Selecting the right tool for cables and connectors
Choosing a Ratchet Crimping Tool is easier when you map the application and the conductor properties. Focus on wire size, terminal material, and duty cycle.
- Match wire gauge range to the conductors you use most
- Choose die sets that match the terminal profile and insulation support
- Prefer tools with color coded cavities or laser markings for quick selection
- For field work, look for compact frames, anti slip grips, and corrosion resistant finishes
- In production, consider interchangeable dies and a calibrated ratchet with fine detents
Materials, thermal factors, and reliability
Thermal behavior affects joint stability over time. A sound crimp lowers contact resistance, which limits heat rise under load.
- Oxygen free copper terminals conduct heat away from the joint evenly
- Tinned finishes resist oxidation, which preserves low contact resistance
- Correct compression reduces micro movement that can loosen under thermal cycling
- Thermal pads or insulation sleeves protect adjacent components from hot spots near capacitors and LEDs
Step by step workflow for consistent crimps
The goal is a gas tight, mechanically secure termination that withstands vibration and current surges. Keep each step deliberate and short.
- Strip to the length specified by the terminal maker without nicking strands
- Insert the conductor fully so copper is visible at the inspection window
- Place the terminal in the matched die cavity before closing the jaws
- Squeeze until the ratchet releases to confirm a completed cycle
- Inspect for proper barrel compression and check that insulation support is centered
Inspection and simple tests for electronics projects
Validation is quick and pays off in service life. For high density wiring inside control boxes and data devices, small checks prevent larger failures.
- Visual check for evenly formed wings without cracks or sharp edges
- Pull test by hand to confirm the conductor does not move in the barrel
- Continuity check with a meter to verify low resistance across the joint
- If available, measure voltage drop under load to reveal poor compression early
Safety practices around panels and live systems
Crimping often happens near energized gear and sensitive components. Treat the work zone as both electrical and mechanical.
- De energize circuits and lock out before handling contactors or busbars
- Use insulated tools where clearance is tight around switches and fuses
- Keep loose strands away from adjacent terminals that feed sensors and controllers
- Avoid contamination from oils or solvents on the conductor and terminal surfaces
Maintenance that keeps tools in tolerance
A Ratchet Crimping Tool is a precision device. Light care preserves die geometry and ratchet accuracy across thousands of cycles.
- Wipe the frame and dies to remove copper dust and debris after each shift
- Apply a small amount of light machine oil to the pivot and ratchet pawl
- Store in a dry case with silica gel to prevent corrosion on the die faces
- Calibrate periodically with a go no go gauge where available
- Replace worn dies when witness marks become uneven or the crimp height drifts
Troubleshooting common crimp faults
Most defects trace to mismatches or shortcuts. A quick checklist helps you recover quality fast.
- Loose conductor indicates under compression or the wrong die cavity
- Cut strands mean over stripping or a sharp edge on the die that needs polish
- Bell mouth too large signals an incorrect terminal size for the wire gauge
- Pull out during testing often points to contamination or oxidized copper
- Overheated joint suggests high resistance from partial closure or damaged barrel
Where a ratchet crimper excels in modern electronics
From bench prototypes to industrial cabinets, this tool ties together power and signal networks with minimal bulk and maximum reliability.
- Building control panels that mix contactors, relays, switches, and indicator LEDs
- Field wiring of sensors on conveyors and packaging lines
- Service work on laptops where modular contacts and fine strand cables require ferrules
- Harness production for microcontrollers and microprocessors in robotics
- Renewable energy combiner boxes where clean terminations limit thermal rise
Choosing terminals and accessories that support durability
A strong joint depends on compatible materials and protection against environment and movement.
- Heat shrink insulation provides strain relief and moisture resistance
- Adhesive lined sleeves add sealing for outdoor and marine installations
- Bootlace ferrules organize fine strands for spring clamp terminals and reduce fray
- Proper cable ties and routing keep bends gentle to reduce cyclic stress
- Labels and color sleeves support traceability during audits and service
Integration tips for control and power distribution
Crimps sit at the intersection of power and logic. Thoughtful layout supports signal integrity and power stability.
- Separate power cables for motors from signal lines for sensors, where possible
- Keep return paths short to reduce noise near controllers and analog inputs
- Use ferrules in modular terminals to maintain consistent clamp pressure
- Select terminals with the right plating for the environment and expected current
- Verify torque on adjacent studs and lugs after rework to avoid loosening
Environmental and thermal considerations in enclosures
Enclosures concentrate heat and humidity, both of which influence joint life and insulation performance.
- Manage airflow to keep conductors and terminals within thermal limits
- Choose terminals rated for your ambient and expected temperature rise
- Avoid routing near hot components such as braking resistors or power supplies
- Use grommets to protect cable jackets where they pass through panels
- Keep spare space for future circuits so crimped conductors are not compressed by new hardware
Quick buying checklist for informed selection
Before you commit to a toolkit or a production line setup, align the tool and consumables with real workloads.
- Wire gauge range and terminal families you use day to day
- Interchangeable die sets and availability of replacements
- Ergonomic frame with padded grips for repetitive work
- Calibration support and clear crimp height references
- Storage case that protects dies from wear and environmental damage
Final takeaways for reliable terminations
A Ratchet Crimping Tool provides controlled, repeatable compression that safeguards electrical performance. When you match die to terminal, verify strip length, complete every cycle, and inspect the result, you reduce resistance, heat, and downtime. Combine sound technique with regular maintenance, and your crimps will stand up to vibration, temperature changes, and daily service across panels, devices, and embedded systems.
